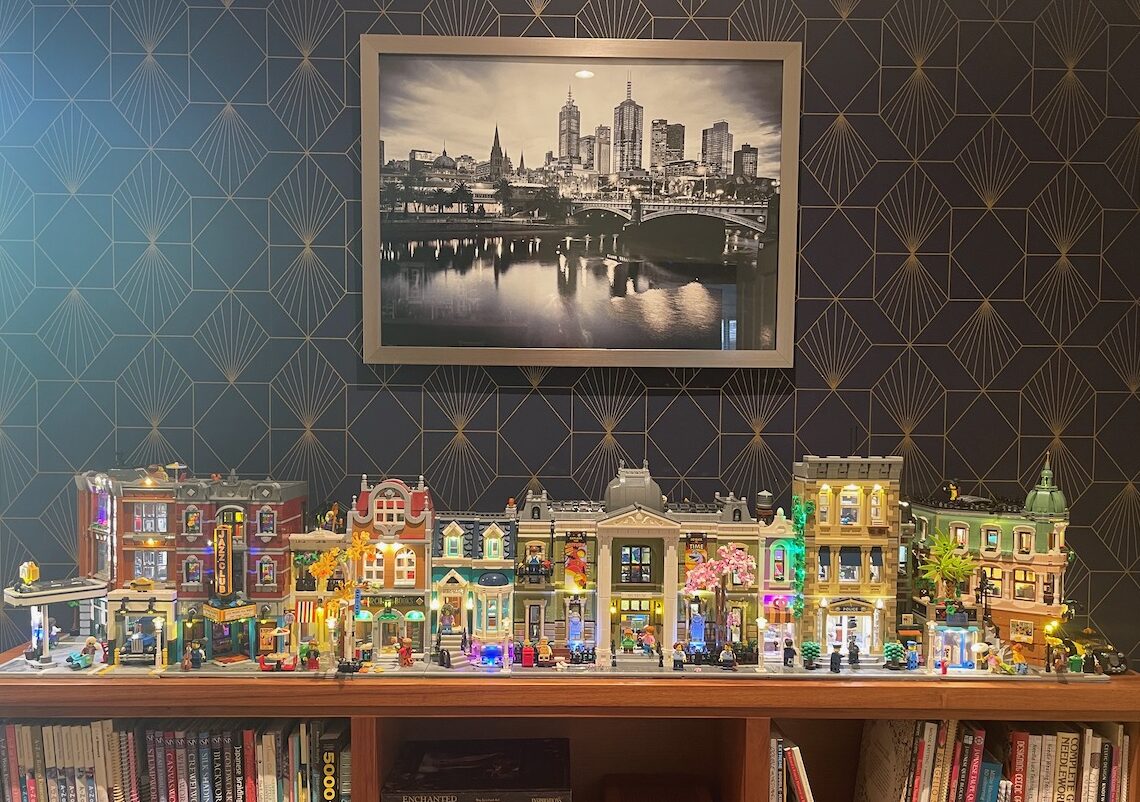
Here at Ice Moon Prison, we have a veritable village of Lego Modular Buildings. We’ve been adding the aftermarket LED lighting kits from Light My Bricks to them for years. Recently, Light My Bricks introduced a complete redesign called 2.0. It’s a qualified improvement, but it still has flaws.
Light My Bricks is a Melbourne-based company which sells lighting kits and components that you can use to add illumination to your Lego constructions. They specialize in kits for buildings and vehicles, though there’s also dedicated bits for science fiction Lego nuts who want their Light Sabers® to glow or their blasters to flicker.
The OG
The original Light My Bricks system used fine-gauge wire in a twisted pair to carry 5 volts to the LEDs, which were essentially tiny breakout boards, the likes of which you may know from wearable brands from Adafruit. Boards for splitting, effects modules, and individual LEDs made for a relatively trouble-free experience, but if your near visual acuity and motor skills aren’t perfect you’re absolutely going to want magnification and precision tools.
Light My Bricks’ step-by-step instructions used photographs of the kit being partially disassembled, the lighting parts inserted, and then the Lego reassembled. It was down-to-earth, low-tech and honest, like the lighting parts themselves.
I became fairly adept at retrofitting the lights to our modular buildings. I broke a few of the tiny cables trying to shimmy them into tight places, but Light My Bricks sells spare parts so it was only a temporary setback.
Enter LMB 2.0
In 2024, Light My Bricks went all-in on a complete redesign of their lighting components. I imagine this was ostensibly because of criticisms of the original system:
- The twisted pair cables weren’t thin enough to sit between stacked Lego plates without a gap.
- The twisted pair cables were so thin that they snapped too easily.
- The insulation on the twisted pair cables was so thin that it scraped off too easily and led to shorts.
- The connectors were really fiddly and, like USB-A cables, needed at least three 180˚ of rotations to click.
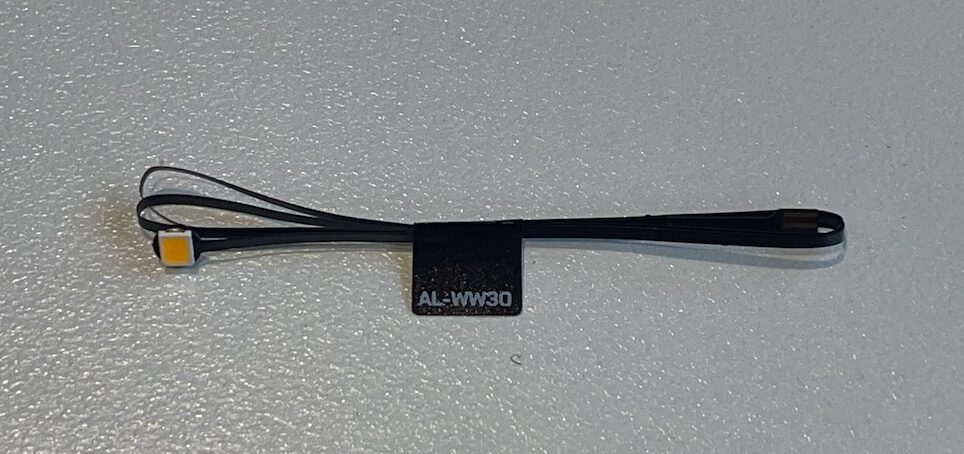
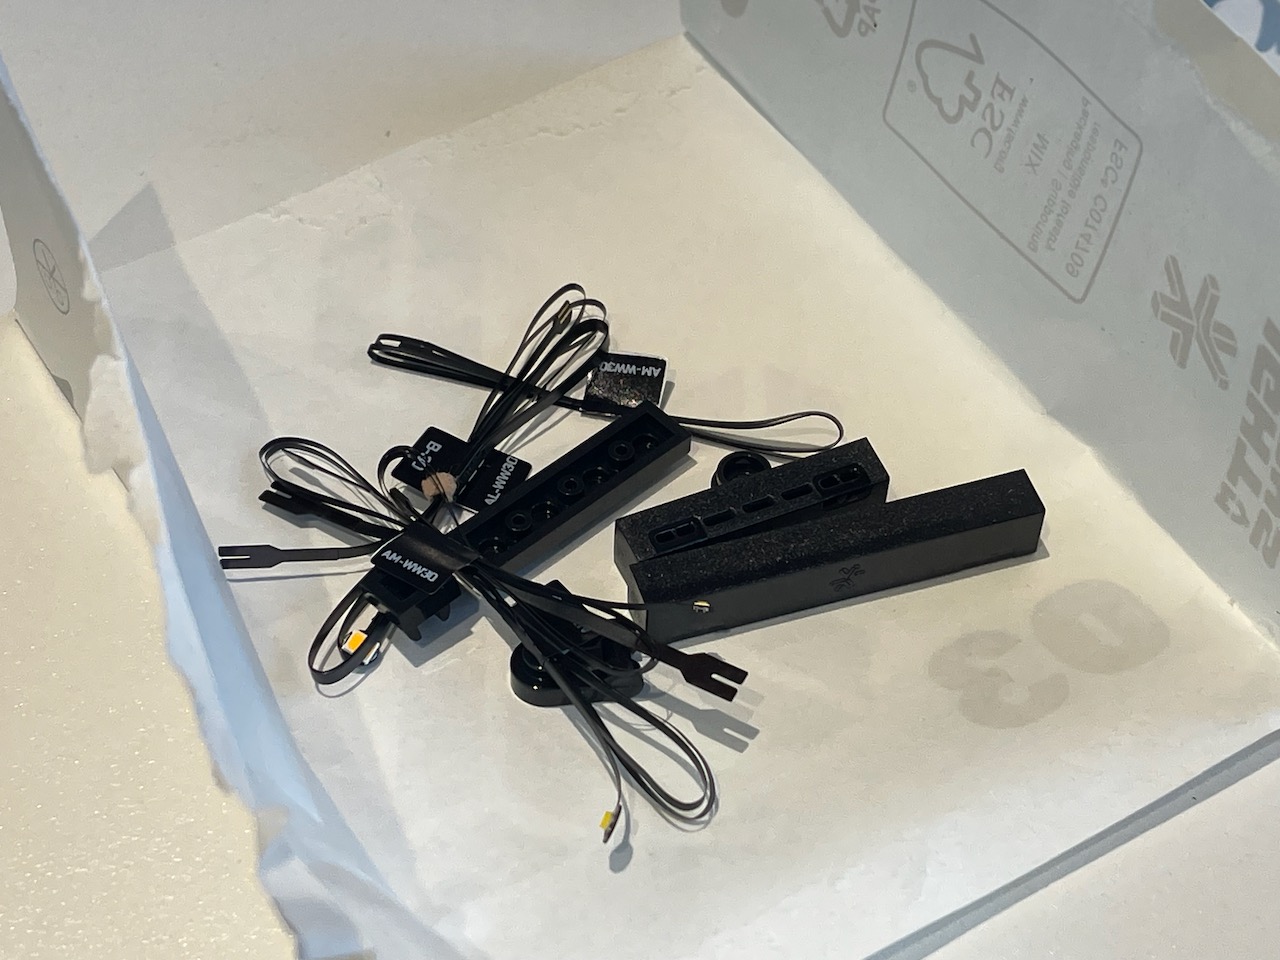
The new system, which Light My Bricks dubbed (yes, really) “LMB 2.0”, does away with the twisted pair cables and replaces them with thin and narrow conductive ribbons familiar to anyone who has ever tried to repair a modern laptop or phone.
LMB 2.0’s packaging is easier to recycle, too: gone are the embedded magnets in the box, and the pouches are paper bags that are easy to tear open and lay flat, like sharing a bag of chips.
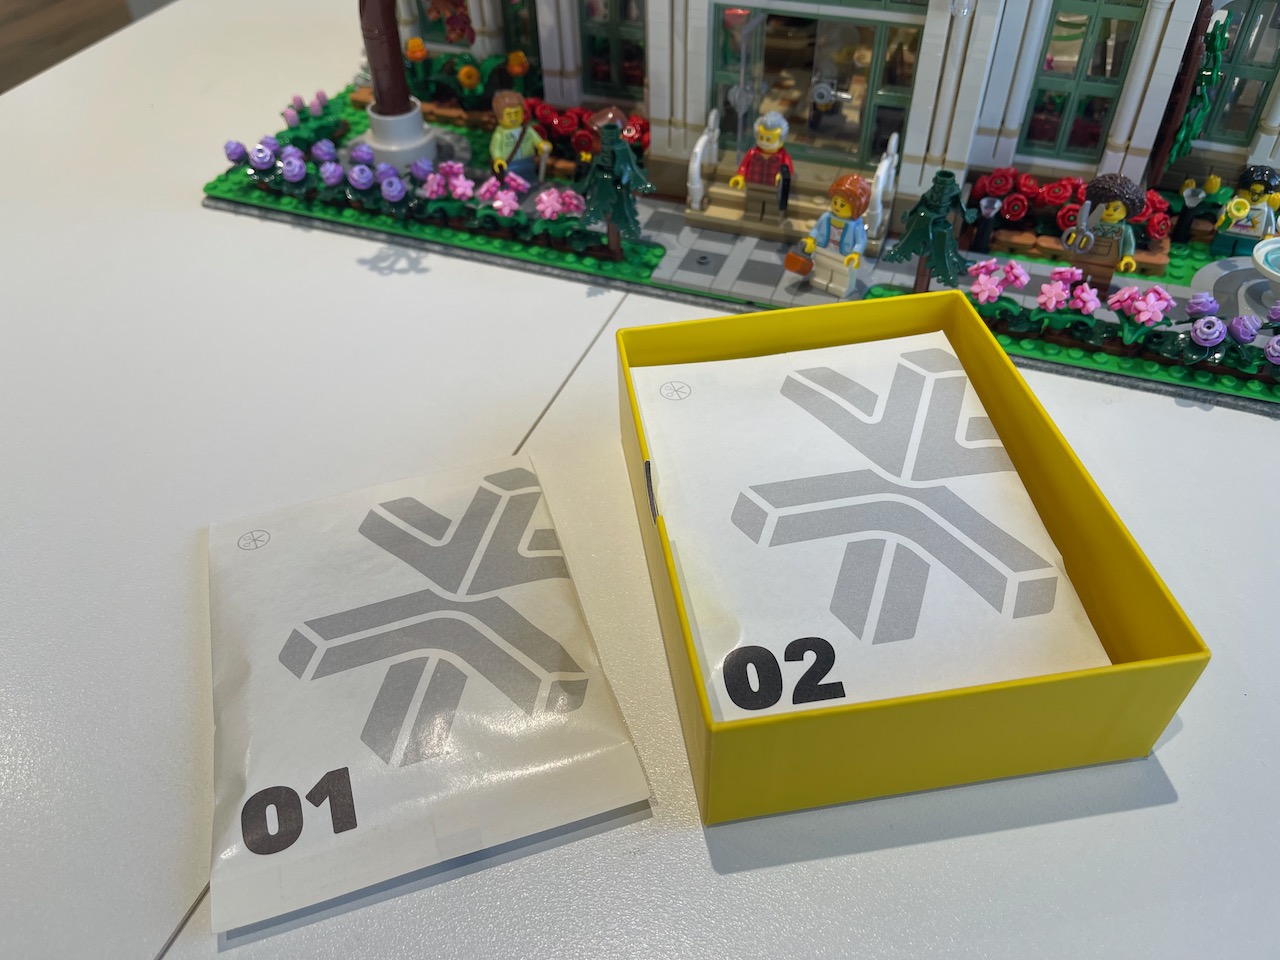
The parts in LMB 2.0, as the moniker suggests, are incompatible with the older system, now retconned with the designation “LMB 1.0”. Light My Bricks sells bridging kits that let you connect a LMB 1.0 and 2.0 set together; they are still electrically compatible.
Ease of use
LMB 2.0 does away with the photographs of actual Lego sets in assembly instructions. Instead there are isometric language-free step-by-step diagrams closely resembling Lego’s own instructions. Light My Bricks makes a big deal of the possibility that you can light your Lego set as you build, or partially dismantle the set to light it afterwards, and provides two different assembly manuals depending on your preference.
These instructions are, in some respects, clearer than the photos. On the plus side, they can distort perspective to give you a better idea of where a ribbon needs to go. But on the minus side, they can distort perspective to mislead you about the physical nature of the ribbon.
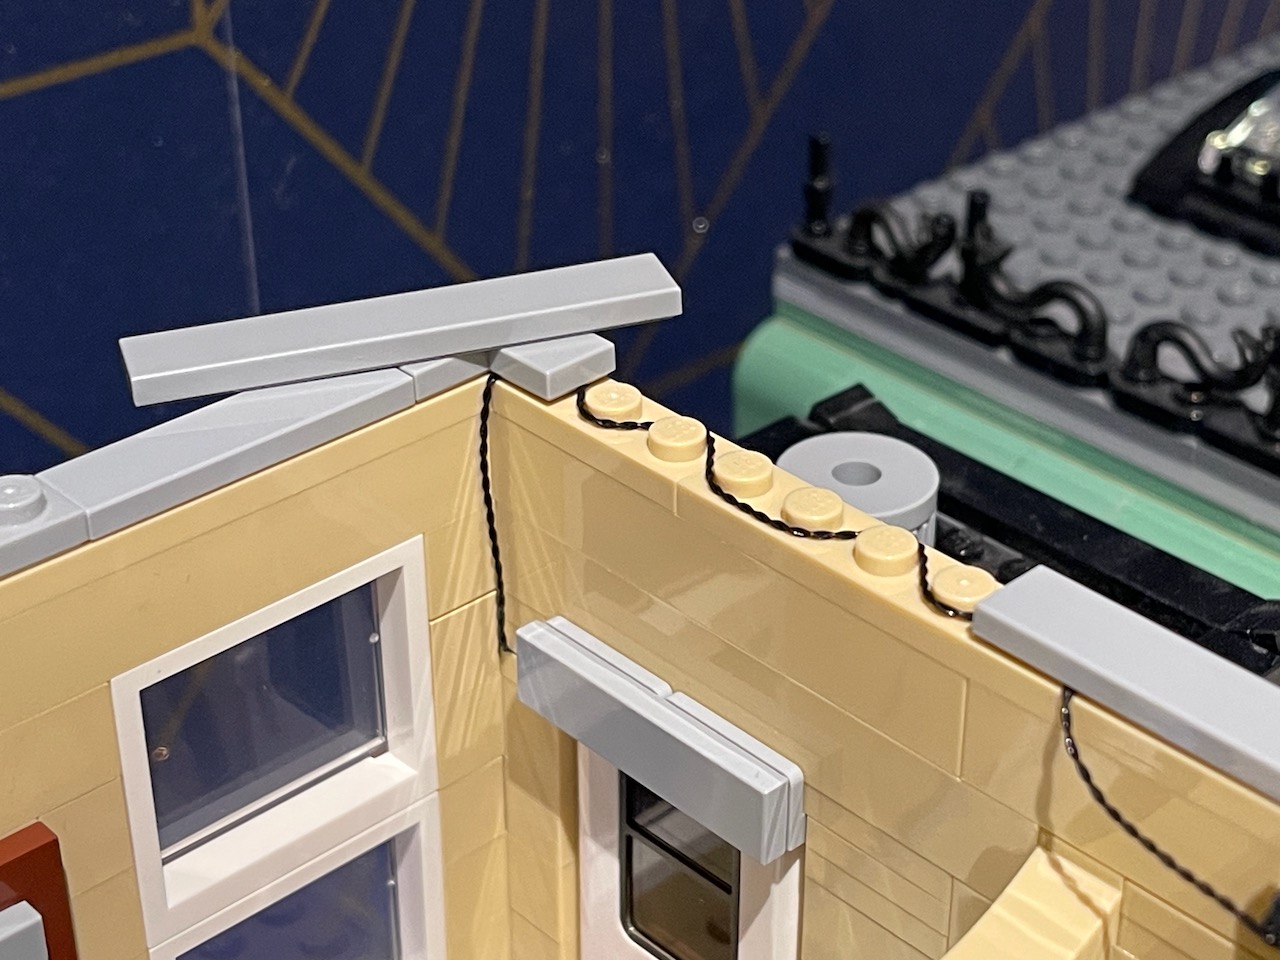
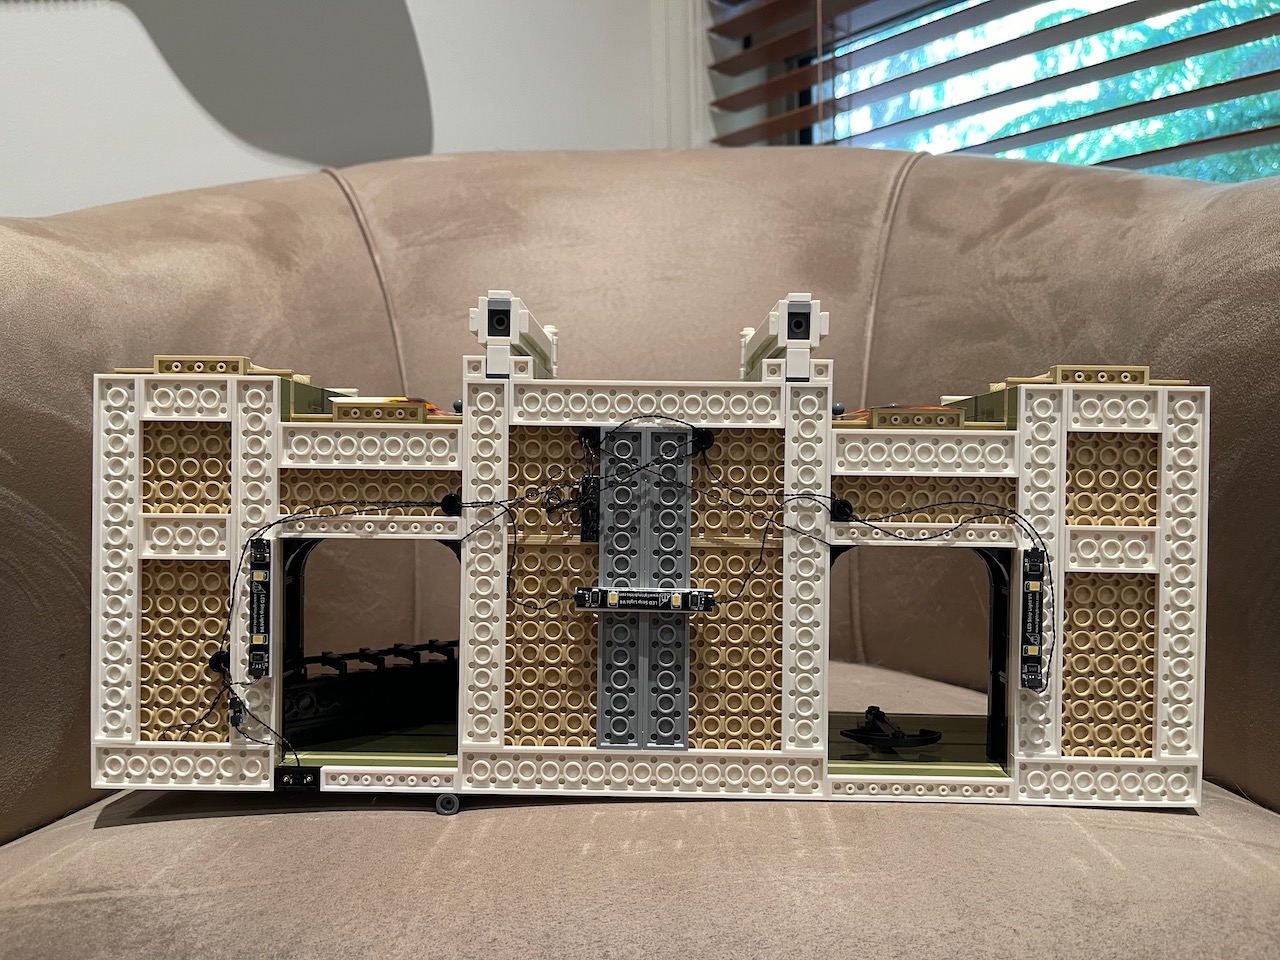
This raises my first criticism of the LMB 2.0 system: the ribbons are, well, ribbons, and they bend only along one axis, unlike the twisted pair cables of LMB 2.0. This becomes an issue with routing. When you need to turn a corner, the ribbon can’t sit flat unless you fold it. More on this later.

Where LMB 2.0 is an improvement
LMB 2.0 ribbons are thin. I measured one with vernier calipers and it was 0.1 mm thick. It is absolutely possible to slip one between two Lego plates without any gap showing, always a challenge with LMB 1.0.
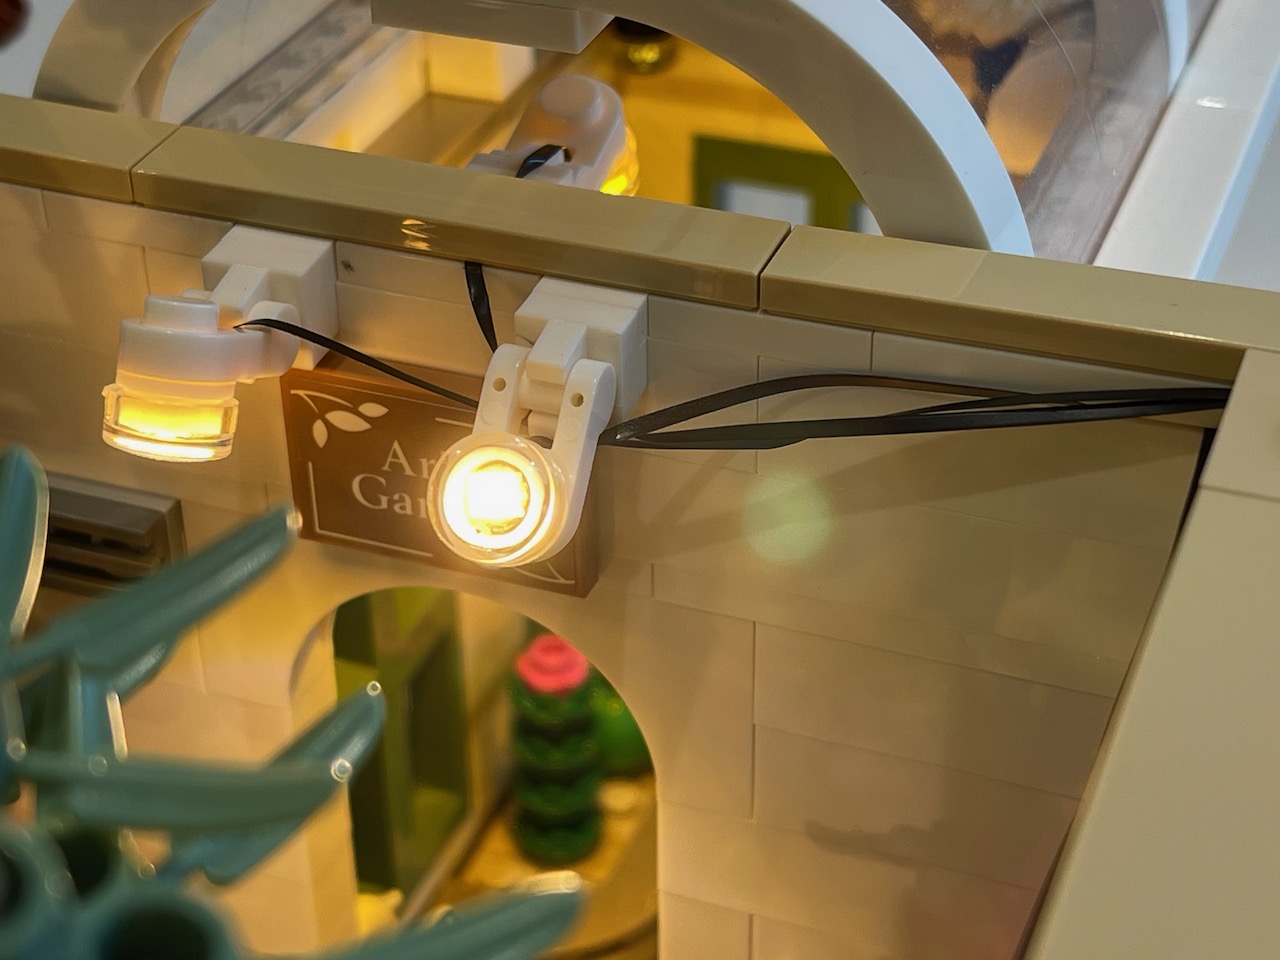
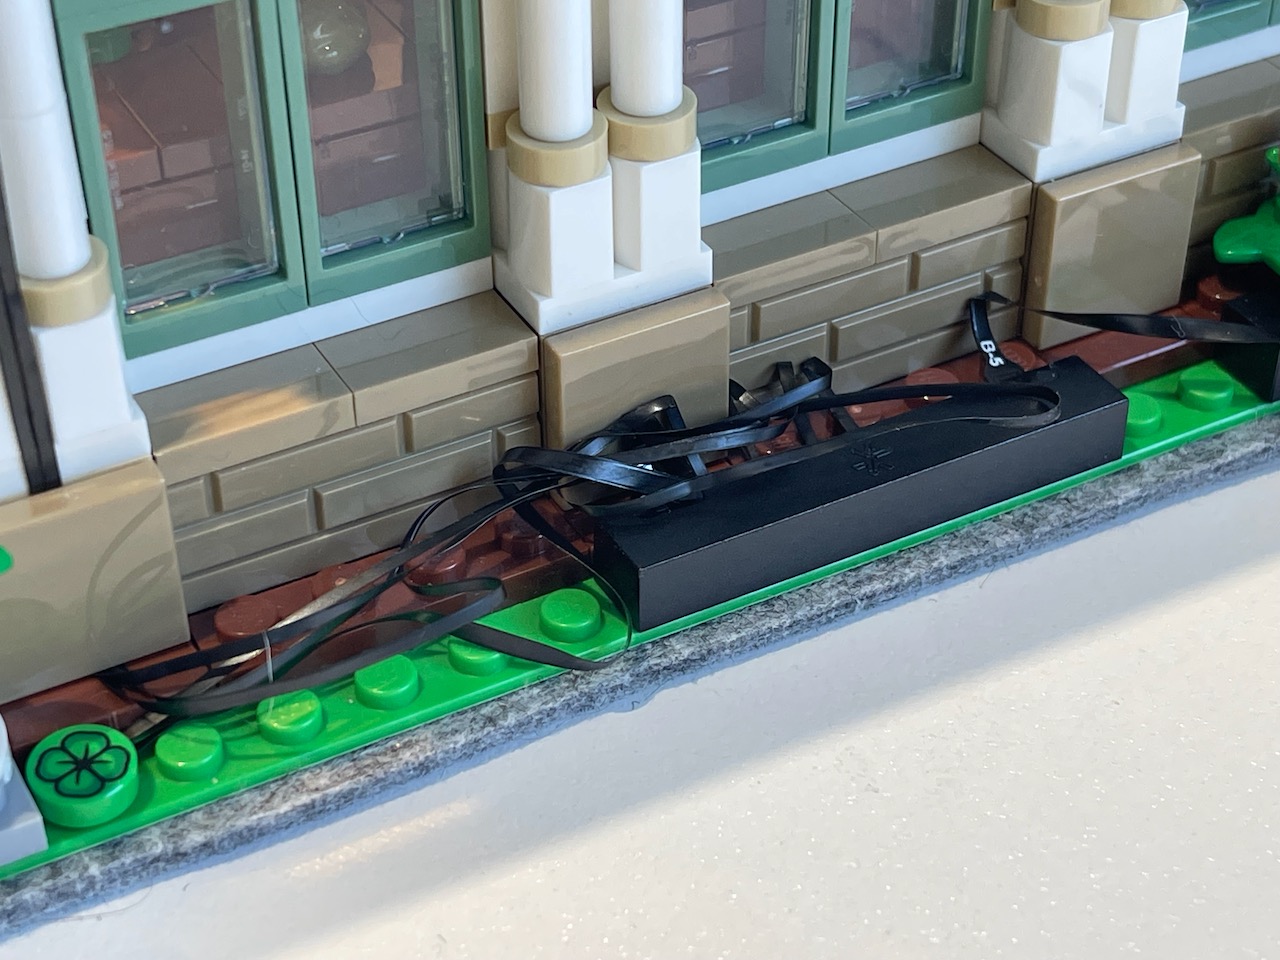
The splitter breakout boards from LMB 1.0 are replaced with chunky black junction boxes (“docks”) in LMB 2.0, with different size and shape slots for backbone ribbons and for individual LEDs. I don’t know where the current-limiting resistors are, but I suspect they are inside the docks now, as they were on the LMB 1.0 micro LED breakout boards.

Ribbons are held in place by friction. You can insert a ribbon either way, like a USB-C plug, which is important given that the ribbons do not like to be twisted. Junction boxes are compatible with Lego bricks, so you do not need to lose battles with double-sided adhesive dots like you did with LMB 1.0; just clip it onto studs like it’s a standard (two-thirds height) brick.
LMB 2.0 kits supply a USB-C plug for power, along with a USB-A adapter if you’re still using legacy power bricks. This is a welcome and thoughtful move.
Where LMB 2.0 is a backwards step
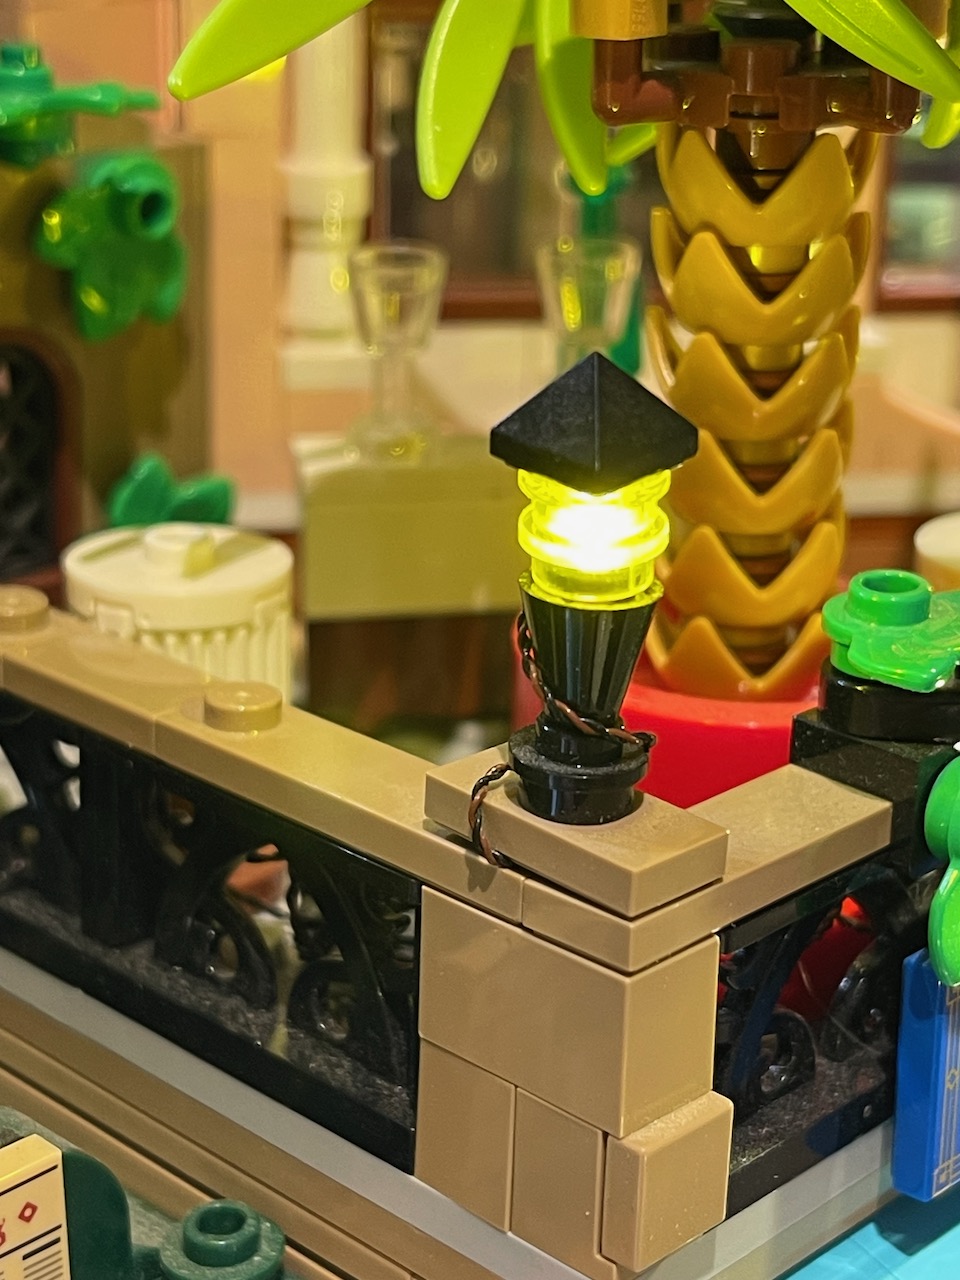
The move from twisted pair to ribbon has some aesthetic knock-on effects which annoy me. The turning circle of a ribbon means that there’s no good way to hide a cable that has to run to an interior lamp. The ribbons only come in black, so against a white wall they will always be highly visible. And as the ribbons come only in a few lengths, there will always be excess length that can’t be squirreled away in a corner as the LMB 1.0 twisted pair could.
Conclusion
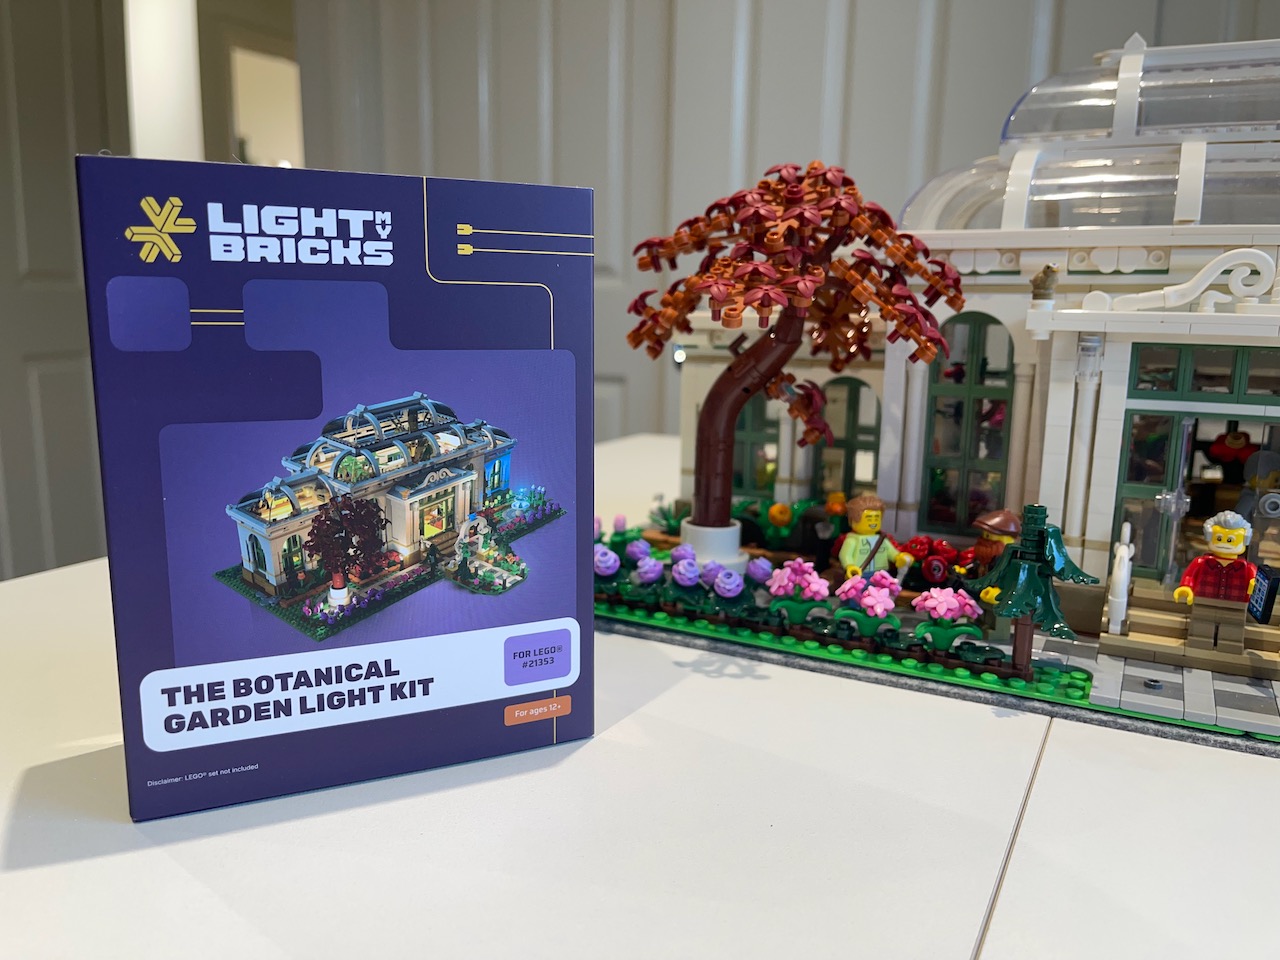
I paid my own way with this lighting kit, and Light My Bricks was not aware of this review at the time of publishing. Light My Bricks is comparatively expensive, but that was true of LMB 1.0 too, and the company runs sales often enough that if you’re not in a hurry you’ll always get a bit of a discount. I’ve always found the company to be responsive and to fix things when there was a problem with an order. They’re a local business and I am happy to support them.
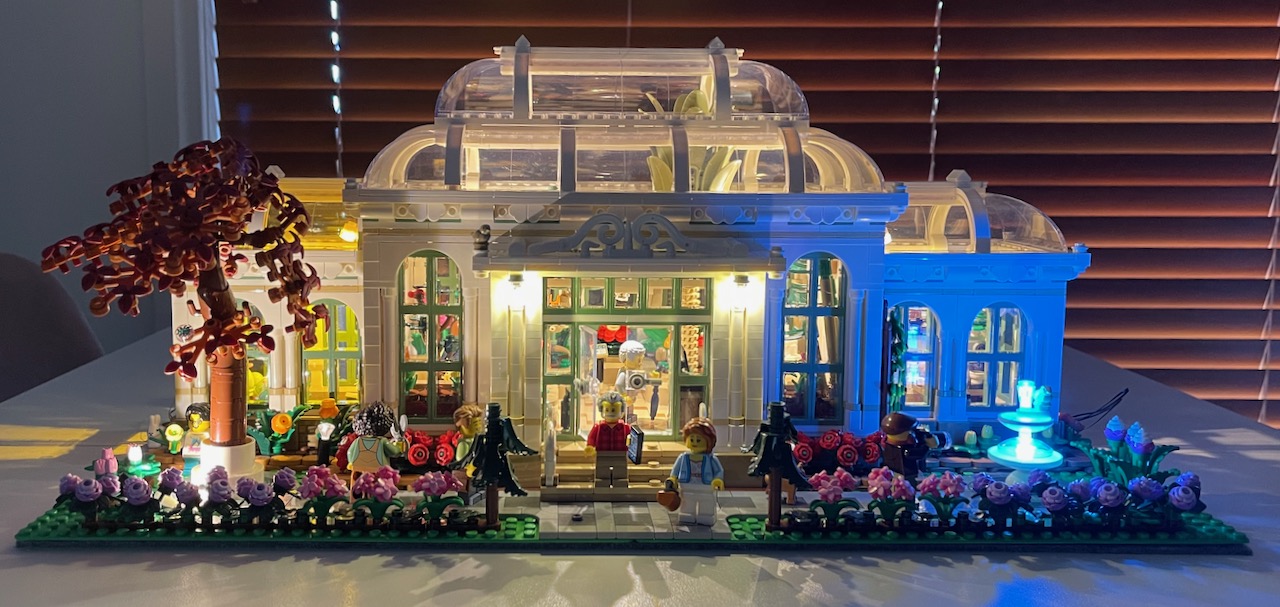
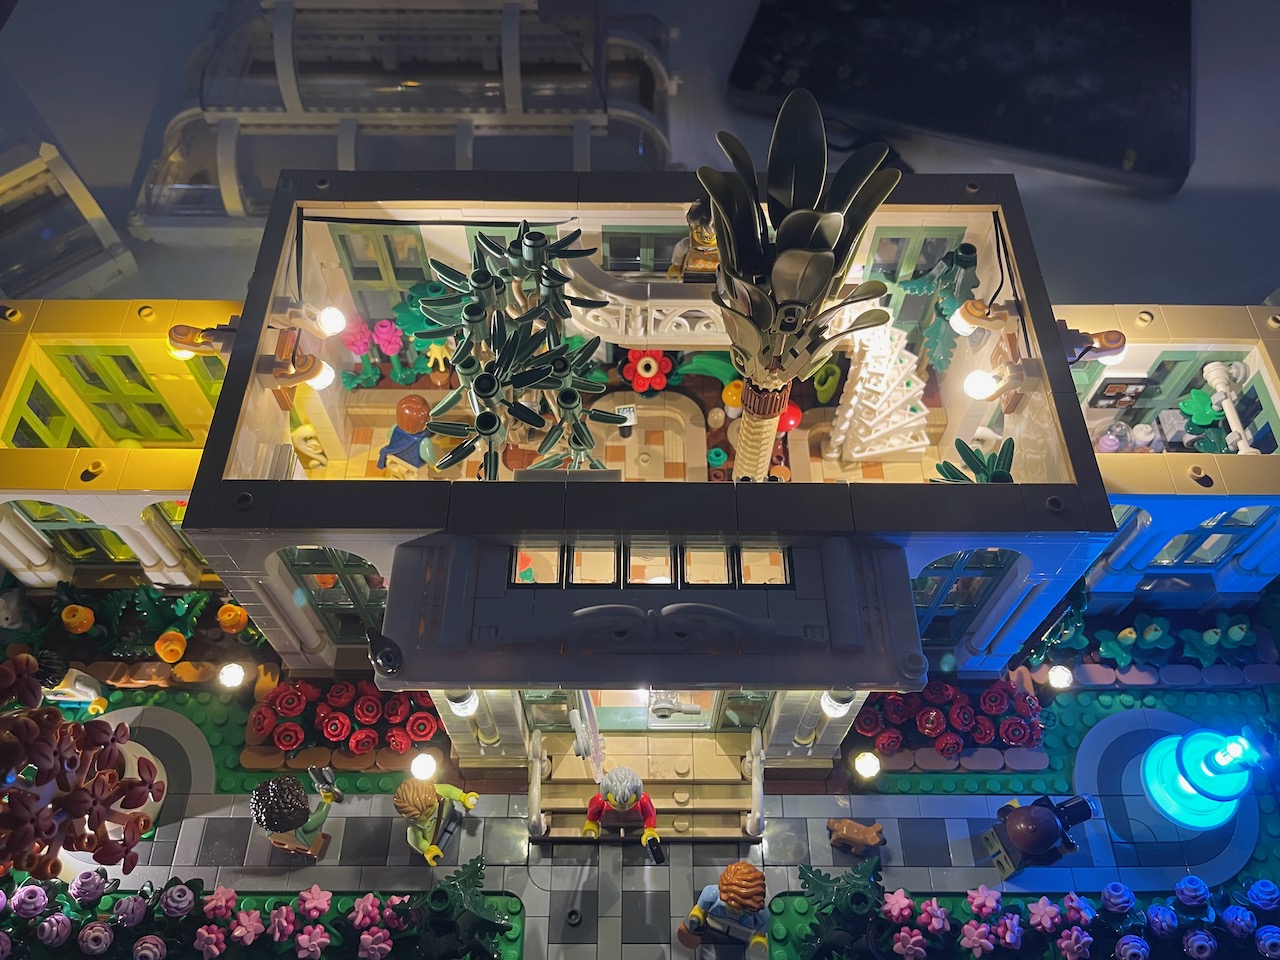
I wasn’t able to review the LMB 2.0 effects box or the Flux touch plates for transferring power between detachable sections of a kit (like storeys in a modular building), because the kit for the Botanical Garden doesn’t come with either. (With LMB 1.0, the Flux touch plates are flaky and depend on the elasticity of thin metal to maintain contact, further complicated by the twisted pair cables pushing everything out of square. They’re quite touchy and I’m glad I won’t have to deal with them again.)
I certainly cursed less as I fought with the LMB 2.0 kit than I historically did with the LMB 1.0 kits. I like the ease of use of the junction box docks. I wish that the ribbons came in additional lengths and colours so that they could be better hidden in the final product. I wish that the instructions were more honest about routing a ribbon that is flexible only on one axis.
I may become more adept at hiding the ribbons away as I test their flexibility and pliability to breaking point. But I hope that Light My Bricks expands its catalogue to further improve cabling aesthetics where they are unavoidably impacted.
Will I buy LMB 2.0 again? Well, I already have, for a Lego modular building that my partner doesn’t yet know exists (shhh).
Leave a Reply